
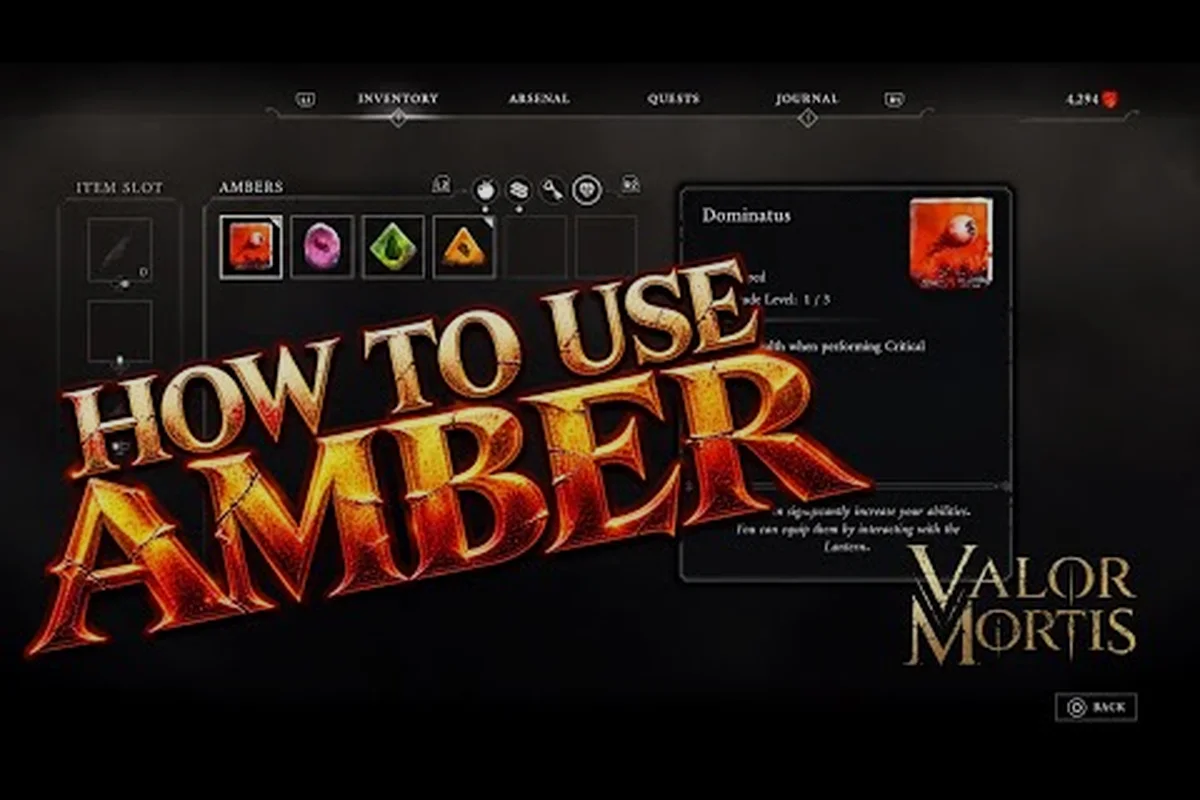
Transmutations are the supernatural backbone of combat in Valor Mortis, and learning how to use them correctly separates players who scrape through encounters from those who dominate them. These plague-fuelled abilities demand precise timing, resource awareness, and an understanding of how cooldowns interact with your weapon rhythm. This guide breaks down the cooldown system, ranks the strongest options, and walks through a practical ability showcase so you can build a loadout that actually works in the field.
Understanding the Transmutation Cooldown System
Every transmutation in Valor Mortis runs on a cooldown timer that begins the moment you trigger the ability. The game does not display a universal cooldown reduction stat, which means your timing decisions carry real weight in every fight. Community testing suggests that cooldown durations vary significantly between ability types, with mobility tools recovering faster than heavy damage bursts. Because the game locks you into first-person combat with no pause menu during encounters, you need to track these windows mentally or through the subtle audio cues that play when an ability comes back online.
The cooldown system rewards players who weave transmutations between melee strikes rather than treating them as panic buttons. When you activate Flame Burst for crowd control, the recovery window forces you to reposition or commit to a weapon combo while waiting. Players report that the most effective approach involves opening with a transmutation, following with two or three weapon hits, and then re-engaging once the ability refreshes. This rhythm prevents the awkward moment where you need a defensive tool but find every slot locked behind a timer.
| Ability Type | Typical Cooldown Feel | Best Use Window | Risk Profile |
|---|---|---|---|
| Crowd Control | Medium length | Group engagement start | High if missed |
| Mobility | Short length | Repositioning or escape | Low |
| Damage Burst | Long length | Staggered enemy or boss phase | Medium |
| Utility | Variable | Environmental puzzle or traversal | Low |
The table above reflects community-reported patterns rather than datamined values, so treat these as directional guidance. Because One More Level has not published exact cooldown numbers, your own testing in the Metroidvania-inspired levels will refine these estimates. Pay attention to how the plague's corrupting power visually charges your character, since the visual intensity often correlates with remaining cooldown time.
Ranking the Strongest Ability Options
The question of the strongest ability in Valor Mortis does not have a single clean answer, because encounter design pushes different transmutations to the front depending on context. That said, community consensus from the launch window points to Flame Burst as the most reliable starter option for raw crowd control value. Its burst of flame clears clustered enemies quickly, which matters enormously in the early game when you lack upgraded weapons. The official Steam page confirms that Flame Burst serves as a verified starter transmutation, giving every player access to a dependable area tool from the beginning.
Mobility-style transmutations occupy a different tier entirely. Grappling-hook abilities enable parkour shortcuts and vertical repositioning that melee-focused builds cannot replicate. While these tools rarely top damage charts, they fundamentally change how you explore the alternate 19th-century Europe setting. Reaching a hidden ledge or bypassing a dangerous corridor often saves more resources than any damage burst could. For players who want to understand the full transmutation list, the supernatural abilities guide covers unlock conditions and upgrade paths in detail.
| Transmutation | Primary Role | Early Game Value | Late Game Value |
|---|---|---|---|
| Flame Burst | Crowd control | Excellent | Good |
| Grappling Hook | Mobility | Good | Excellent |
| Damage Burst | Single target | Situational | Excellent |
| Utility Tool | Exploration | Good | Situational |
The ranking shifts as you progress, because late-game bosses punish static positioning more harshly than early mobs. A damage burst that feels underwhelming against fast-moving early enemies becomes essential when a boss exposes a long stagger window. Your strongest ability is ultimately the one that matches your current weapon setup and the specific threats in the zone you are clearing.
Ability Showcase: Practical Combat Scenarios
An ability showcase works best when it grounds each transmutation in a concrete combat scenario rather than listing abstract stats. Start with Flame Burst against a group of plague-corrupted soldiers. The ideal sequence involves letting enemies cluster, triggering the burst to stagger the front line, then immediately following with a heavy melee swing to finish the survivors. This combo demonstrates why crowd control tools feel so impactful in the early game, especially when you are still learning parry timing.
The grappling-hook transmutation shines in vertical arenas and multi-level exploration routes. When a boss arena features elevated platforms or destructible cover, a quick hook reposition lets you escape area attacks that would otherwise force a dodge roll with tighter timing. Community reports from the launch window highlight several exploration routes that are only accessible with mobility transmutations, which means skipping these tools locks you out of hidden loot caches and optional lore fragments.
| Scenario | Recommended Transmutation | Why It Works | Common Mistake |
|---|---|---|---|
| Group ambush | Flame Burst | Staggers multiple targets | Using it too early |
| Boss area denial | Grappling Hook | Escapes ground hazards | Overcommitting to damage |
| Staggered boss | Damage Burst | Maximizes punish window | Missing the trigger |
| Vertical exploration | Grappling Hook | Reaches hidden paths | Ignoring cooldown |
The showcase above reinforces a core lesson: transmutations are not interchangeable damage buttons. Each one solves a specific problem, and the best players cycle through them based on what the encounter demands. If you want to see how these abilities fit into broader build strategies, the NG+ build guide explores late-game loadout synergies that push transmutation usage even further.
Patch Note Shifts and Deluxe Edition Abilities
Recent patch notes have adjusted transmutation behavior in ways that affect both new and returning players. According to community data gathered after the October 13th launch, the developers tuned several ability interactions to reduce unintended damage stacking. These shifts matter because a loadout that felt overpowered on day one might now require a different rhythm. Always check the latest update notes before committing to a long-term build, since ability tuning tends to arrive in the first few post-launch patches.
The Deluxe Edition includes additional ability options that expand the transmutation toolkit beyond the base game. While the exact contents vary by platform and region, players report that deluxe-exclusive transmutations tend to emphasize visual flair and utility rather than raw power creep. This design choice keeps the playing field fair for standard edition owners while still rewarding early supporters. The patch notes hub tracks all ability-related changes and deluxe edition announcements as they go live.
| Edition | Transmutation Access | Notable Difference |
|---|---|---|
| Standard | Core ability set | All essential tools |
| Deluxe | Core plus exclusives | Utility and visual options |
| Post-launch updates | Balance adjustments | Ongoing tuning |
Because transmutation balance remains fluid during the launch window, treat any tier list or ranking as a snapshot rather than a permanent verdict. The developers at One More Level have a track record from Ghostrunner of refining combat systems based on player feedback, so expect continued adjustments to cooldown values and ability interactions in the coming weeks.
Building a Cooldown-Aware Loadout
A cooldown-aware loadout starts with understanding which transmutations complement your weapon choice rather than competing for the same role. If you run a heavy melee build with slow swings, a mobility transmutation covers your positioning weakness while your weapon handles damage. If you prefer fast dual-wield weapons, a crowd control transmutation fills the gap when enemies surround you. This complementary logic prevents the frustrating situation where every tool in your kit wants to be used at the same moment.
The second principle involves mapping your transmutation usage to the combat loop of each zone. Open areas with multiple enemy spawns favor crowd control tools, while tight corridors reward mobility and quick repositioning. Boss arenas demand a mix, since most encounters feature both add phases and direct engagement windows. By rotating your transmutation selection based on the zone you are entering, you avoid the trap of locking into a single loadout that only works in one context.
| Weapon Style | Best Transmutation Pair | Reason |
|---|---|---|
| Heavy melee | Grappling Hook | Fixes slow positioning |
| Fast dual-wield | Flame Burst | Clears surrounding mobs |
| Ranged focus | Damage Burst | Punishes distant staggers |
| Hybrid | Utility Tool | Expands exploration options |
The final layer involves tracking your cooldown rhythm through sound and visual feedback. Because the game does not display a numeric timer, experienced players learn to associate specific audio cues with ability readiness. This skill develops naturally over a 25-hour playthrough, but you can accelerate it by deliberately practicing one transmutation at a time in low-stakes encounters. The magic guide offers additional context on how the plague's corrupting power fuels these abilities and what that means for upgrade priorities.
Frequently Asked Questions
What is the fastest way to learn transmutation timing?
Start with Flame Burst in early group encounters, since its cooldown is forgiving enough to practice without punishment. Focus on the audio cue that signals readiness, then experiment with different weapon follow-ups. Community players report that deliberate practice in the first two zones builds timing instincts faster than rushing through content.
Do transmutation cooldowns reset between combat encounters?
Cooldowns continue ticking outside combat, but they do not instantly reset when you clear an encounter. This means you should avoid wasting a long-cooldown ability on the final enemy of a group, since you might need it immediately in the next room. Mobility tools recover quickly enough that this rarely matters for exploration.
Are Deluxe Edition transmutations stronger than standard abilities?
No, deluxe-exclusive transmutations emphasize visual flair and utility rather than raw power. The developers designed them to avoid pay-to-win concerns, keeping the core combat balance identical across editions. Standard edition players can access every essential combat tool without missing out on meaningful power.
How do patch notes affect existing transmutation builds?
Patch notes can adjust cooldown values, damage scaling, or interaction rules, which means a build that felt optimal before an update might need tweaking afterward. Check the official update notes after each patch to see if your primary transmutation received changes. Community testing usually surfaces the practical impact within a day or two.
Can I respec my transmutation choices?
The game offers limited respec options tied to progression milestones, though the exact mechanics vary by platform. Players report that early-game experimentation is cheap enough that you rarely need a full respec. Focus on unlocking a variety of transmutations rather than committing to a single path too early.
Transmutations define the combat identity of Valor Mortis, and mastering their cooldown rhythm transforms chaotic encounters into controlled executions. The strongest ability for your playstyle depends on your weapon pairing, the zone you are clearing, and how well you read the visual and audio cues that signal readiness. By practicing the showcase scenarios above and staying current with patch note shifts, you will build a loadout that handles both crowd control and boss pressure without wasting a single cooldown window.